 freoza.
Choose a recording from Downloads
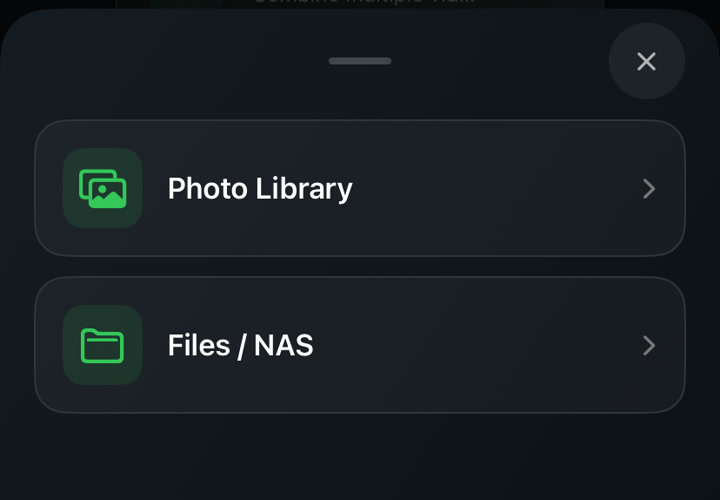
- Tap Video Compress on the Videoslim home screen, then tap Files / NAS.
- In the file picker, tap Browse and open the folder where you saved the recording. For a Safari download, look in Downloads under iCloud Drive or On My iPhone, depending on your Safari settings.
- Tap the video. When its preview appears, check the thumbnail and duration to make sure you opened the right recording.
Choose a size and save the compressed copy
- Tap Custom and move the Target Size slider. If an upload form allows 25 MB, try a target such as 22 MB to leave room.
- Tap Start Compress. Check the finished size on the result screen and play a few seconds to check picture and sound.
- Save the new video to Photos. The original stays in its folder. To attach the result from Files, open the new video in Photos, tap Share, and choose Save to Files.
Open a video stored on a NAS
First open Files on your iPhone. Under Browse, tap the More (…) button, then Connect to Server. Enter your file server’s SMB address and sign in with an account that can read the shared folder. Check that you can open the folder in Files.
Return to Video Compress, tap Files / NAS, and choose the recording from that share. Videoslim reads the source in place. Keep the server reachable until compression finishes, and leave space on the iPhone for the exported video.
Sources & notes
Written by the app developer, with product and official references. This guide does not claim a new device benchmark or detection-accuracy experiment.